Whether used by hobby crafters or construction professionals – polyurethane foam is used as a practical assembly aid for many different applications. It is not only used for filling cavities, but also for gluing stairs, sealing window and door frames or for insulation.
Polyurethane foam – also known as construction foam or assembly foam – is mainly based on polyurethane. Its very short drying time makes it particularly popular. It can also be plastered and painted over. Other advantages include its exceptional resilience and very good adhesion to absorbent materials, which is why it is often used in building and construction as well as in interior fitting and finishing. In general, a distinction can be made between one-component polyurethane foam and two-component polyurethane foam.
Applying 1-component polyurethane foam
1-component polyurethane foam consists of one component and is particularly uncomplicated to use: simply shake and start applying the foam. The liquid polyurethane mixture cures without a second component through contact with moisture. The construction foam can be applied either with a tube or an NBS gun.
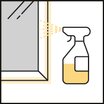
Preparing the substrate
The substrate must be clean, solid and free of dust and grease. Adjacent surfaces should be covered beforehand. Make sure that you moisten the substrate sparingly. When fitting components, the elements should be aligned, wedged and screwed according to the instructions.
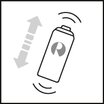
Shaking the can
Shake the can well before use (also after work interruptions)! The temperature of the cans must be between 15°C and 25°C. The outside temperature must be between 5°C and 35°C.
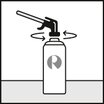
Screwing on the adapter
Remove the protective cap and screw the adapter onto the valve. Hold the can with the valve pointing downwards and start foaming.
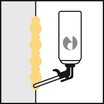
Pay attention to dosage
Dose sparingly! The polyurethane foam expands around two to three times in size. You can open and regulate the tilt valve by putting pressure on the adapter with your finger.

Further foam application
The polyurethane foam cures through a reaction with moisture in the air and surroundings. Do not cut or spread the foam when it is fresh. It spreads out independently and fills the cavities. Corrections can be made once the foam has cured.
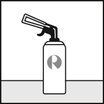
Closing the can
If 1-component polyurethane foams from Ramsauer are not used up completely, the tube can be closed with the special adapter without sticking.
Professional tip: An NBS gun makes dosing and the clean application of polyurethane foam easier.
This is how it works:
- Screw the container with the valve facing upwards onto the NBS gun (not too tight).
- Hold the can with the valve facing downwards and start foaming.
- After use, leave the can on the NBS gun. Do not remove the can until it is completely used up. Thoroughly remove the escaping foam from the valve and thread with cleaner.
- Then IMMEDIATELY put on a new can, otherwise the NBS gun will clog up.
- Never use force to remove the can from the adapter.
- If an NBS gun cannot be used due to contamination, disassemble and clean the gun or use a new one.
Applying 2-component polyurethane foam
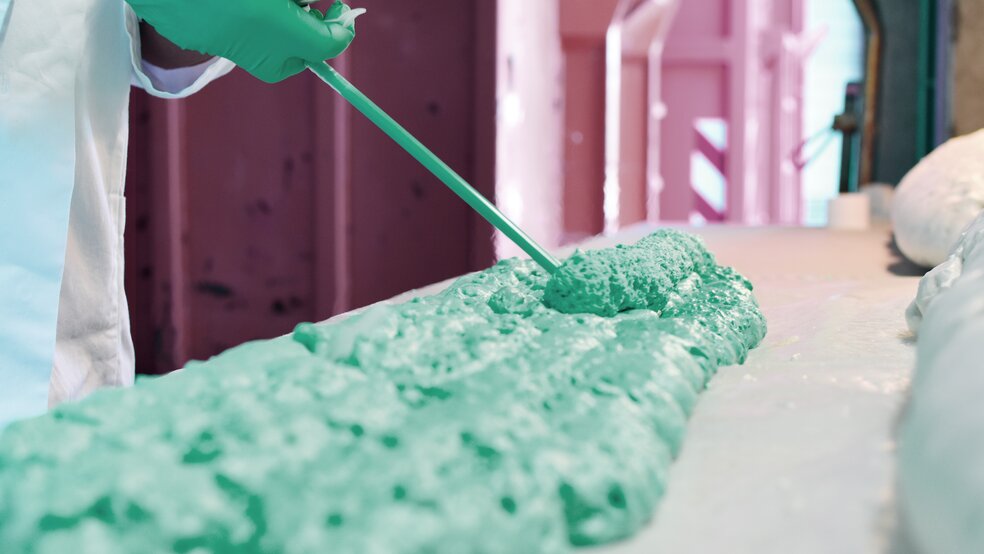
Where fast, controlled and moisture-independent curing is required – such as in the installation of door frames – 2-component polyurethane foams are primarily used. The foam cures faster, more firmly and evenly without moisture. Due to its extreme adhesion, application requires special precision:
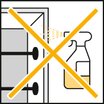
Preparing the substrate
Again, it is important that the substrate is clean, firm and free of grease and dust. Cover adjacent surfaces well. All elements that are to be mounted must be aligned, wedged and screwed according to the instructions. Do NOT moisten the substrate!

Activating the can
The can temperature should be between 10°C and 25°C. At temperatures above 25°C, there is a risk of bursting due to the reaction heat – do not activate the can! Remove the protective cap and screw on the adapter. Turn the activation wing at the bottom of the can four full turns in the direction of the arrow as far as it will go to activate the curing agent cartridge.
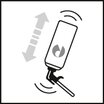
Shaking the can
Important: Immediately shake the can vigorously at least 20 times with the valve pointing downwards – more often if it is cold – to mix both components. A slight rattling sound is proof that the inner container with the curing agent component has been opened. After shaking, allow to mature for 30 seconds, shake again briefly and apply.
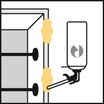
Applying foam
Hold the can with the valve pointing downwards. The foam comes out in a uniform colour when mixed correctly. If necessary, shake again vigorously.

Quick application
The can must be completely emptied within around eight minutes.
Further foam application
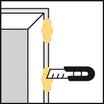
Do not cut or spread the foam when it is fresh, it will spread out on its own and fill the cavities. Corrections can be made once the foam has cured (around 20 min.). The foam reaches its full resilience after around two hours.
What to consider when applying 2-component polyurethane foam:
- Once the foam is activated, you should start applying it immediately.
- The foam should be well mixed. If it is evenly coloured, you can start foaming. If the foam is patchy, shake the can again vigorously so that both substances are activated.
- We recommend that you wear gloves when working with 2-component polyurethane foam because the fresh foam is very sticky.
- Ventilate the work area sufficiently. Please observe the information about the ambient temperature on the product.


